 |
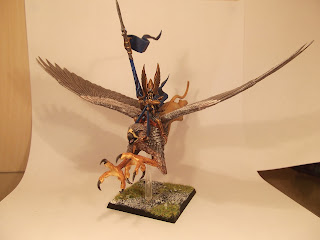
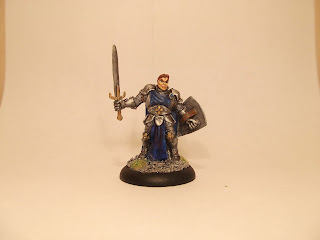
| Before |
I've been trying to take decent photos of my miniatures for ages, with very little success. So today I've been reading and watching all kinds of tutorials and experimenting and I'm going to share what I have learned, and the results of those experiments.
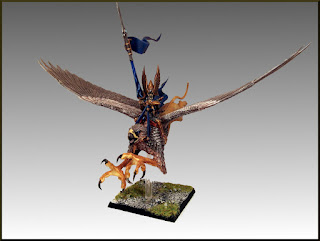 |
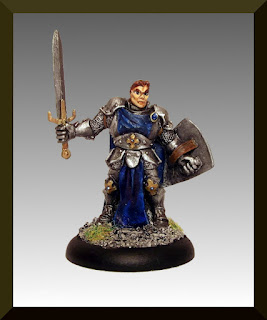
| After |
Now before I start I want to explain a few limitations I'm under, and you might be too so it is relevant. I don't have an expensive camera, its a Fujifilm JX530 14mp family camera. And even though its 14 million pixels that's not much use when taking photos of miniatures, I can't adjust the Aperture (which affects the depth of field for focusing) or manually focus shots (which is really annoying) but it is good enough for my purposes.
 I don't have a lightbox, this is a Matt white box that reflects clean light back at the model, but I do have two clip on lights (with normal bulbs, more on that later). A lightbox would be useful and I might get one soon, but its not as important as a camera I can focus manually.
So on to what i've learned. First and foremost your miniature needs to be very well lit to get the best results. I'm using normal incandescent bulbs and the light they give is very yellow so I really need to get some Day Light bulbs.
Set your camera to take the lowest ISO level it can, turn off the flash and if it has a Macro function (the symbol is a little flower) turn it on. If your camera has a delay function (so the photographer can run round and be in the picture) use it, hand shake can ruin a good photo.
Theres a lot more detail in this tutorial by a very clever man at the Tiny Tin Men blog.
So you've taken some shots and they are in focus. Next is turning them from the creamy 'Before' images on the right into the much more professional looking ones marked 'After'. As always, click each picture to zoom.
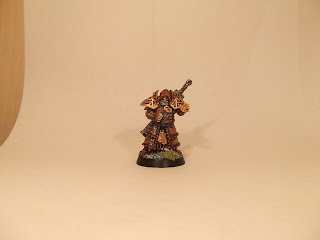 |
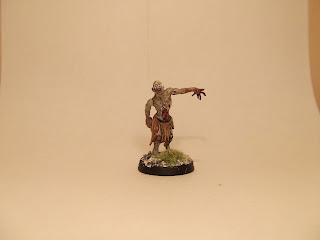
| Before |
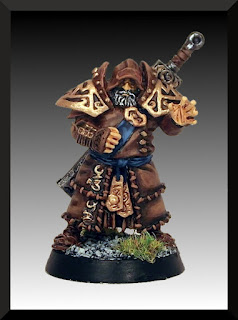 |
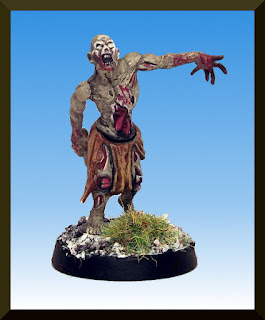
| After |
Theres no great secret, just download a program called Gimp. Its free and will let you fix the white balance (correcting those incandescent bulbs yellow light), add frames, resize and apply backgrounds like a pro.
 |
| Before |
 |
| After |
Now I can't tell you how to do those things any better than this video can, hats off to this lady, she explains it so clearly even I got it (after watching several times).
 |
| Before |
 |
| After |
I really hope you have found this useful. I'm delighted with the results and if you follow the tutorials I have suggested I'm sure you will be too.


Thanks m8. For me that has been usefully as I sometimes need to take stills of craft and baking products :)
ReplyDelete